changing my keyboard part 2
My first foray into building that ergonomic split keyboard was excellent, more fun than I’d expected even. Playing with the layout, experimenting with placement and posture, and the sheer utility were all great. I adjusted to the ortholinear layout and thumb row keys better than I’d anticipated. I am a consistent hot key user, so an alt-tab or ctrl-z equivalent wasn’t a big stretch, but adjusting to multiple uses per key was a little weird–still is.
I made the keyboard to get familiar with the process and feel–to experiment with what I wanted. And it was the fist ortholinear ergonomic keyboard I’d used and I quickly found ways to improve it. So I made this:
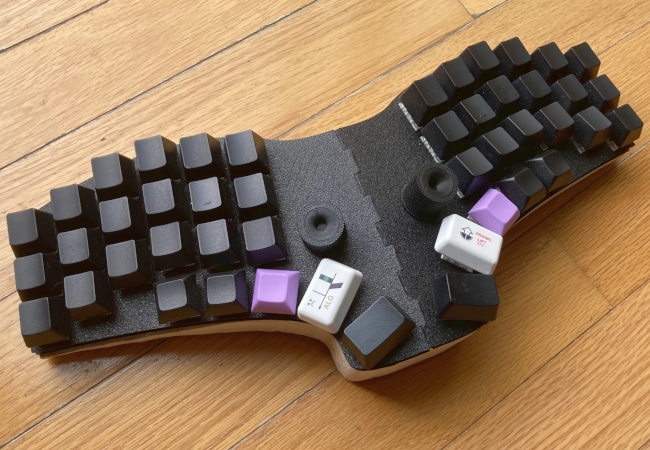
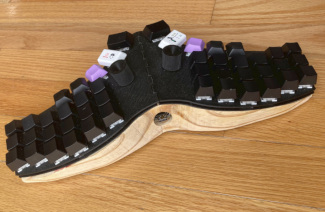
I eliminated the number row, thinking it would make more ergonomic sense to use layers more efficiently instead. I also staggered the pinky rows quite a bit. On my first iteration I kept mashing other keys while trying to type P or Q (hence the strange key cap profiles on the original–which did help a bit). I made it “unibody”, shifted and splayed out those thumb keys, and added rotary encoders. (The left one is for left and right arrow keys and the right one is for up and down. Clicking them in toggles ctrl+L/R and PgUp/PgDn.) Another big upgrade was going from Cherry MX brown switches to Kailth silent box browns. (No I don’t understand these bonkers naming conventions either) It feels much better.
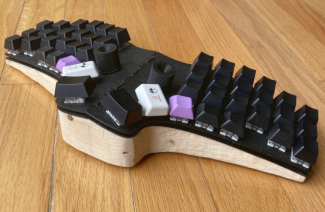
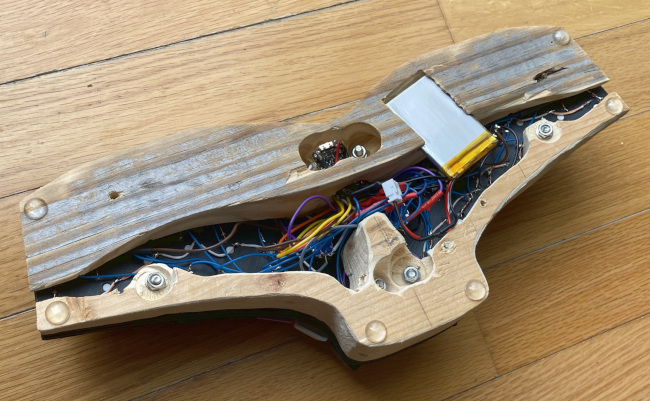
The second design process was a bit insane, basically I made a little drawing and designed it as I went. I hand-wired this one because why not and I wanted to make the body out of wood, mostly because I knew how and big 3D printed things generally look ugly and dumb.
I never really used the rotary encoders much, I usually just used the arrow keys on a layer, although when I remembered they were there it was fun and intuitive. I also never found a good use for those innermost keys on the thumb cluster. The one on the left is a macro for ctrl+left and the one on the right does nothing. Even the next key up on the right is a useless shift key. So I see this keyboard now as an experiment in maximalism, ha.
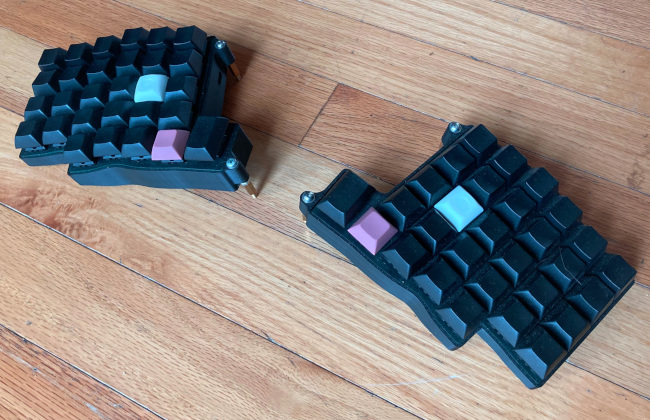
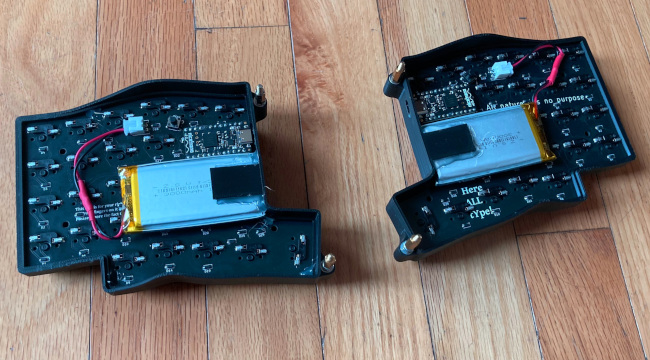
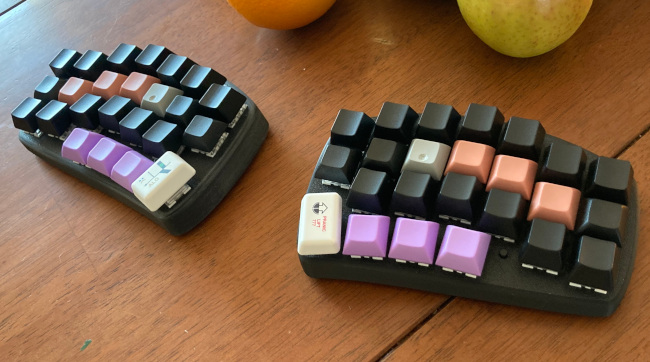
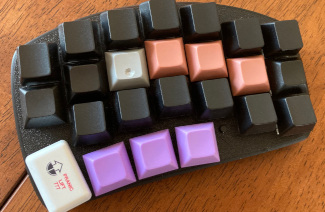
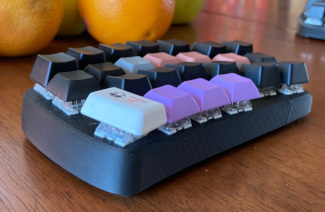
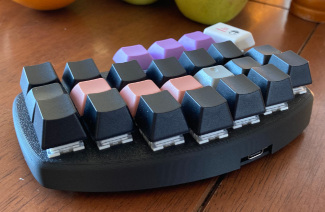
My third iteration is complete and I’m typing on it now. Do you like how it types? I think I’ll keep it for a while. It’s nice and low, probably has about the right amount of keys and pinky stagger, and I even threw in a couple extra keys in the middle for fun.
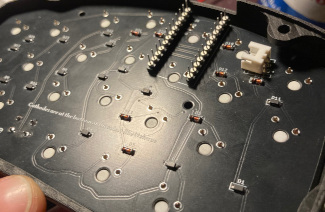
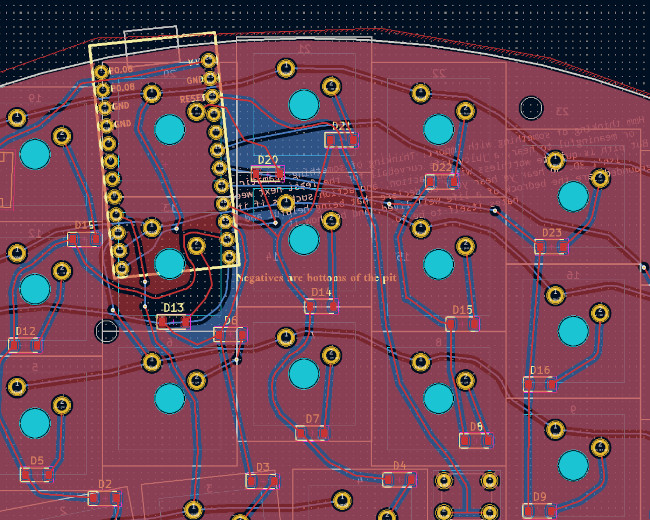
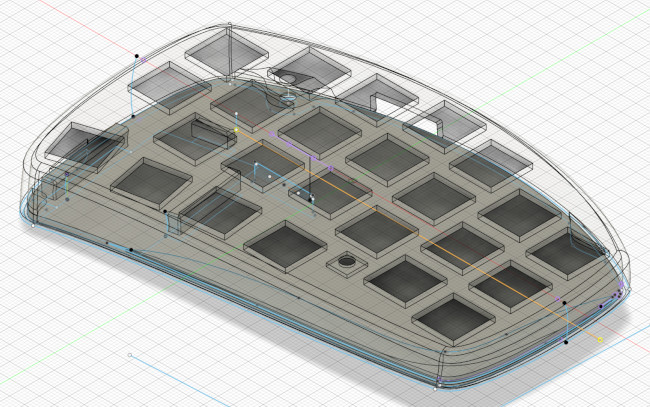
The most challenging part with this build was the case I’d say. For some reason it was important to me to have the front panel contiguous with the sides so it looks like a shell or something. So I had to both fit the PCB in from the bottom and mount the bottom plate on. The tolerances are pretty tight too, so I learned a lot about autodesk fusion and made a few rough drafts.
Now I’m on to another kind of silly and difficult journey: learning how to type using Colemak-DH. It’s fun! I’m using standard keyboards all the time at work so we’ll see how my brain adjusts to being uh… not quite bilingual.
