chaquo etch
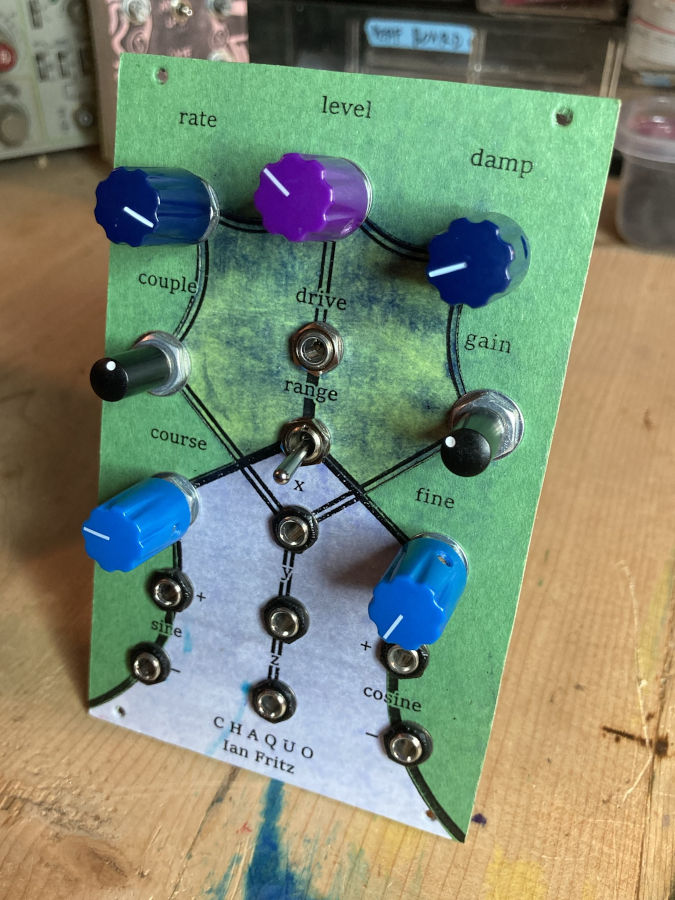

This is the wild and free ChaQuO module from the brain of Ian Fritz. There's the chaos circuit (Cha) and a quadrature--meaning four-output 90 degrees out of phase--sine wave LFO (QuO) which is normalled to the "drive" jack here. This is a good demo. But nothing can compare to the off-the-chain intuitive play of these knobs. I'm still getting to know it.
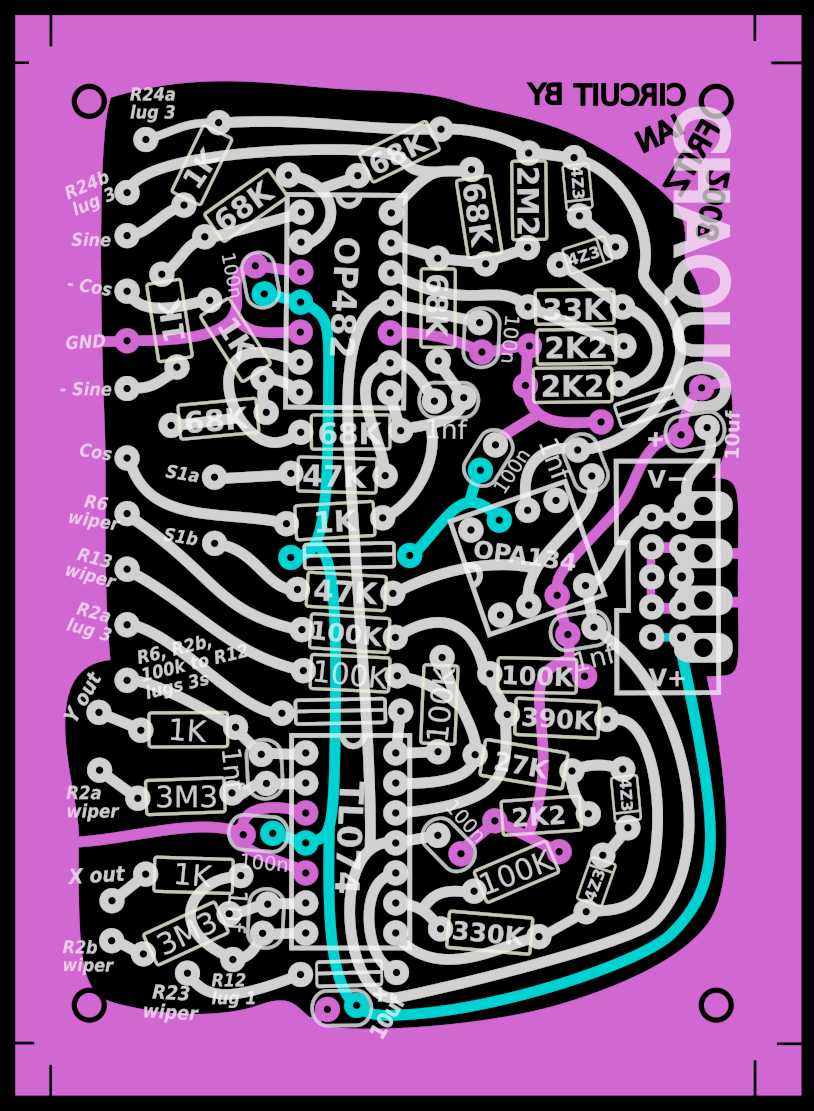
So here we have some files for you to print and etch at home! These are shared with permission and are for non-commercial use only.
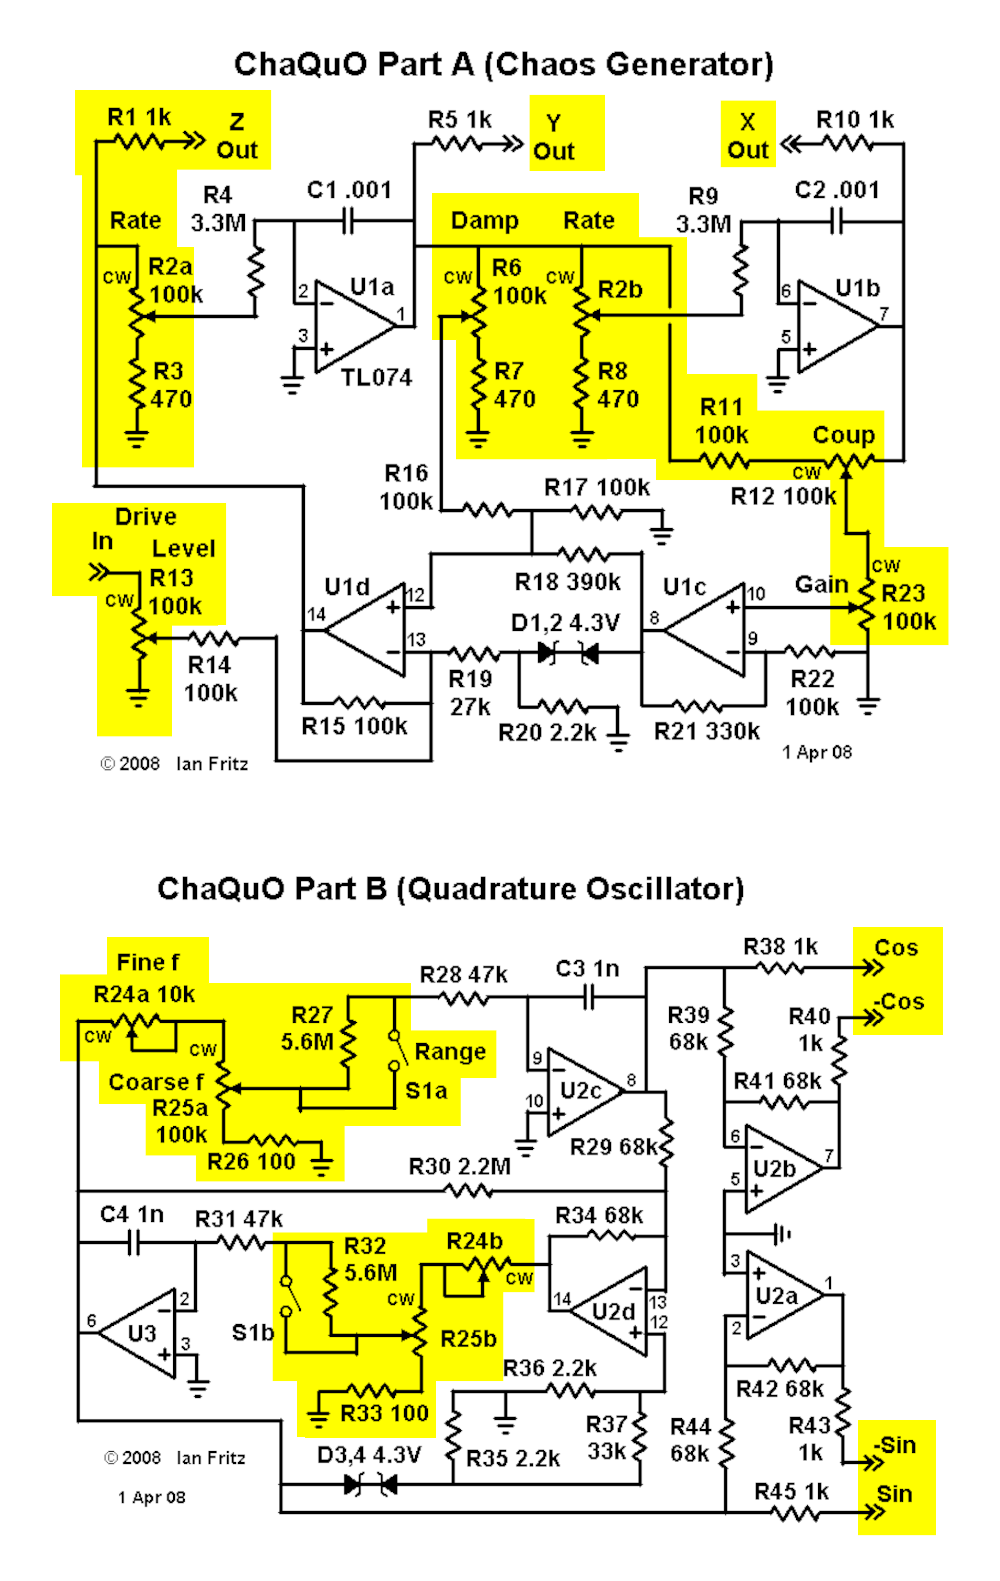
These are at 600dpi. There's also a bit of panel wiring to complete the circuit, so here's my wiring diagram. I also highlighted the parts of the schematic that aren't on this circuit board in yellow here if that's more your thing.
This module outputs rail-to-rail voltages, if that's a concern. Feel free to voltage drop them at the jacks or add attenuators or something.
Much gratitude to Ian Fritz! And happy building!
universal slope
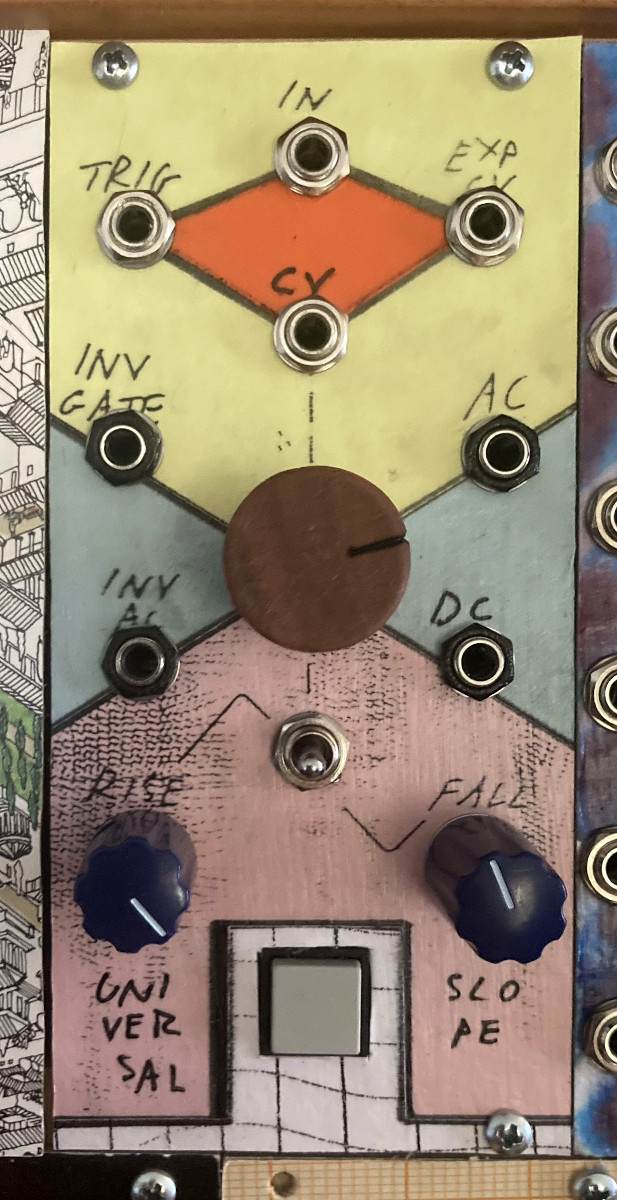
Well this is a fun module. It's one half of the Dual Universal Slope Generator (CGS114) with an added button.
There are a couple very simple patches over on the wiki which are great and easy to normalize. First is that the DC output can be normalled to the CV input, so when nothing's plugged in the CV attenuator knob changes the rise/fall shapes. There can also be a toggle switch to loop the slopes, LFO style, which connects the "end out" to "trig in" jacks. I left that one out. The button I added is momentary, wired to +5V (with a current-limiting resistor), and normalled to the input jack.
In any case, one exciting thing for me is that this is my first time designing a toner transfer layout. A big upgrade from using sharpie. Shit can get a lot smaller and a lot more complicated, and I get a much better etch. It's a totally inelegant layout but I learned a ton. I'm using inkscape which is probably also inelegant for this, but I like it.
The schematic I used is on the page linked above.
crackleboxes and pipsqueaks
These are two circuits that sound great and are relatively simple to build. It's fun to play with layout/container, switches and pots.
Here's where I found the original schematic for the cracklebox. Starve pots are highly recommended. I'd also recommend this album by Michel Waisvisz, inventor of the cracklebox, made only with "cracklesynths".
The pipsqueak is from Martin Freeman and is a spiritual successor to the cracklebox--a digital noise box made with more readily available components (I bought some knockoff ICs for the crackleboxes). Here is the circuit, and here is the forum thread I found it on.
And here's me playing the circular one:
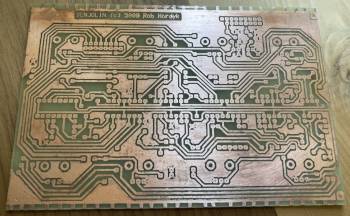
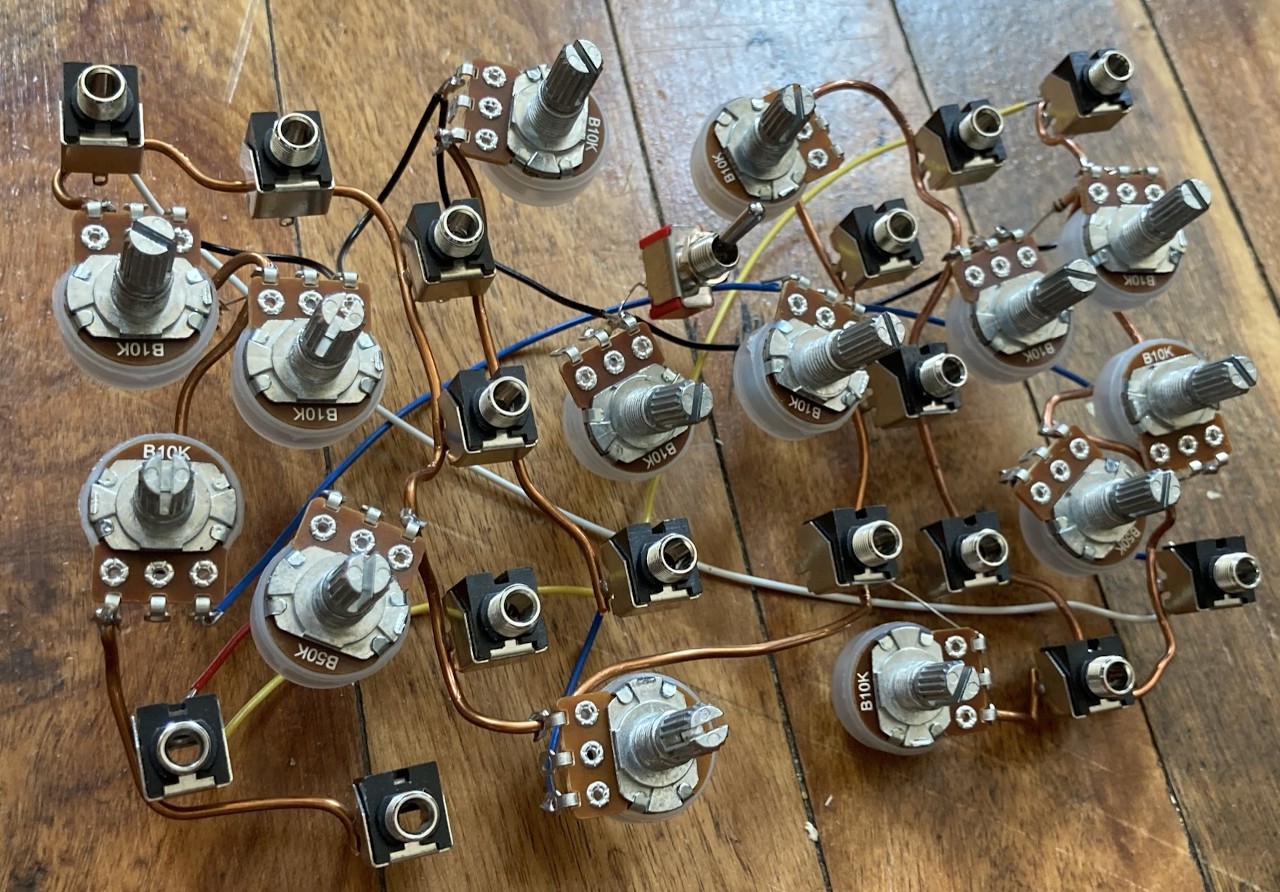
yet another benjolin build
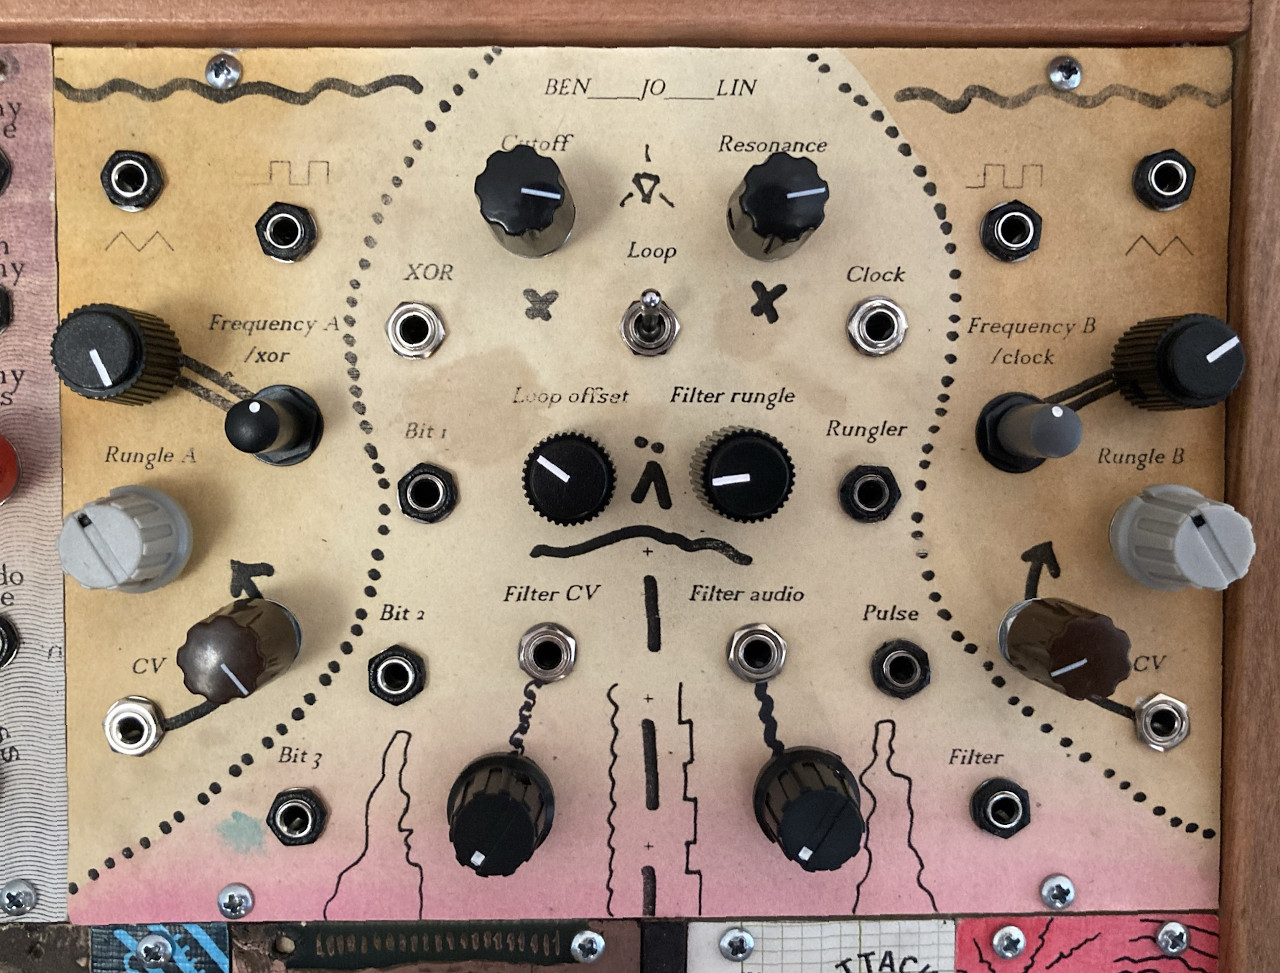
A wild beast with no patching needed! A giant module with dead eyes! A sea of confusion that came together in the end!
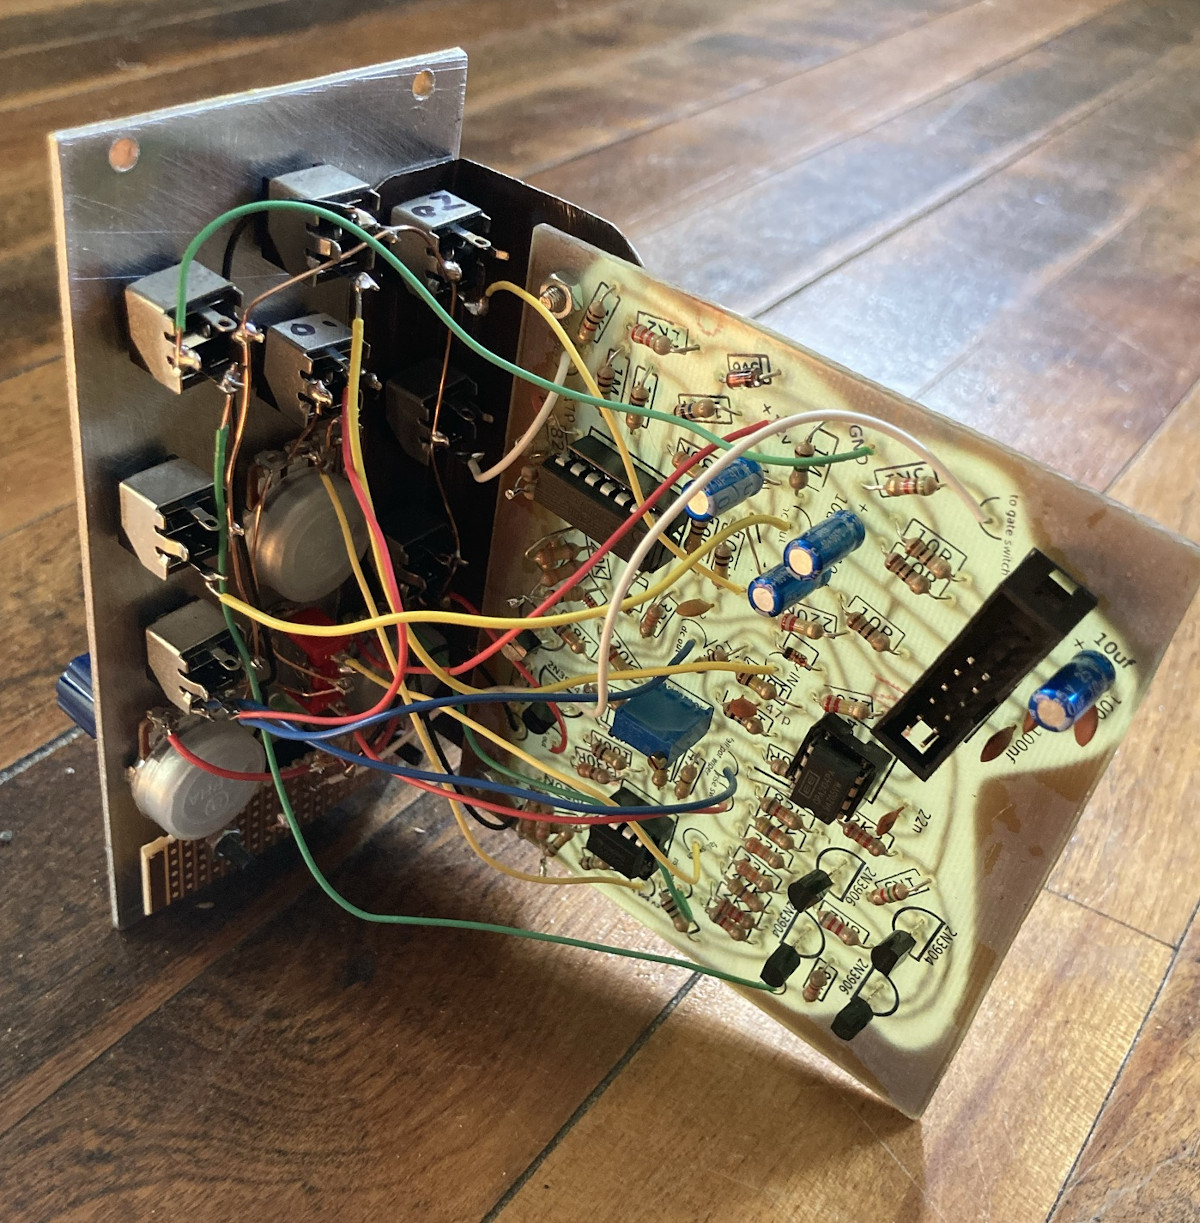
For these mods I mostly refered to the casper electronics page (with some changes I’ll mention) and Forest Caver’s schematics. I also used the level reducer for the bits out by Macumbista, mentioned in the same thread as the PCB layout here. The mods are on a stripboard which you can see mounted in one of the last pictures below.
To eliminate all the switching for the rungler in the casper version I changed a couple things. For starters I used the loop offset mod from Forest Caver. Then I normalled the standard connections through the XOR/clock comparator to the rungler mentioned in the casper version. (Okay I went from two switches to one, but it’s much less complicated.) If you’re using the osc 1, osc 2, and filter cv inputs you don’t need the 51k resistors shown on the old casper page, they’re already on the board. (See O1CV, O2CV, and FCV labels on the original silkscreen.) And according to Mr. Edwards himself the pulldown resistors after the comparator opamps are completely unnecessary.
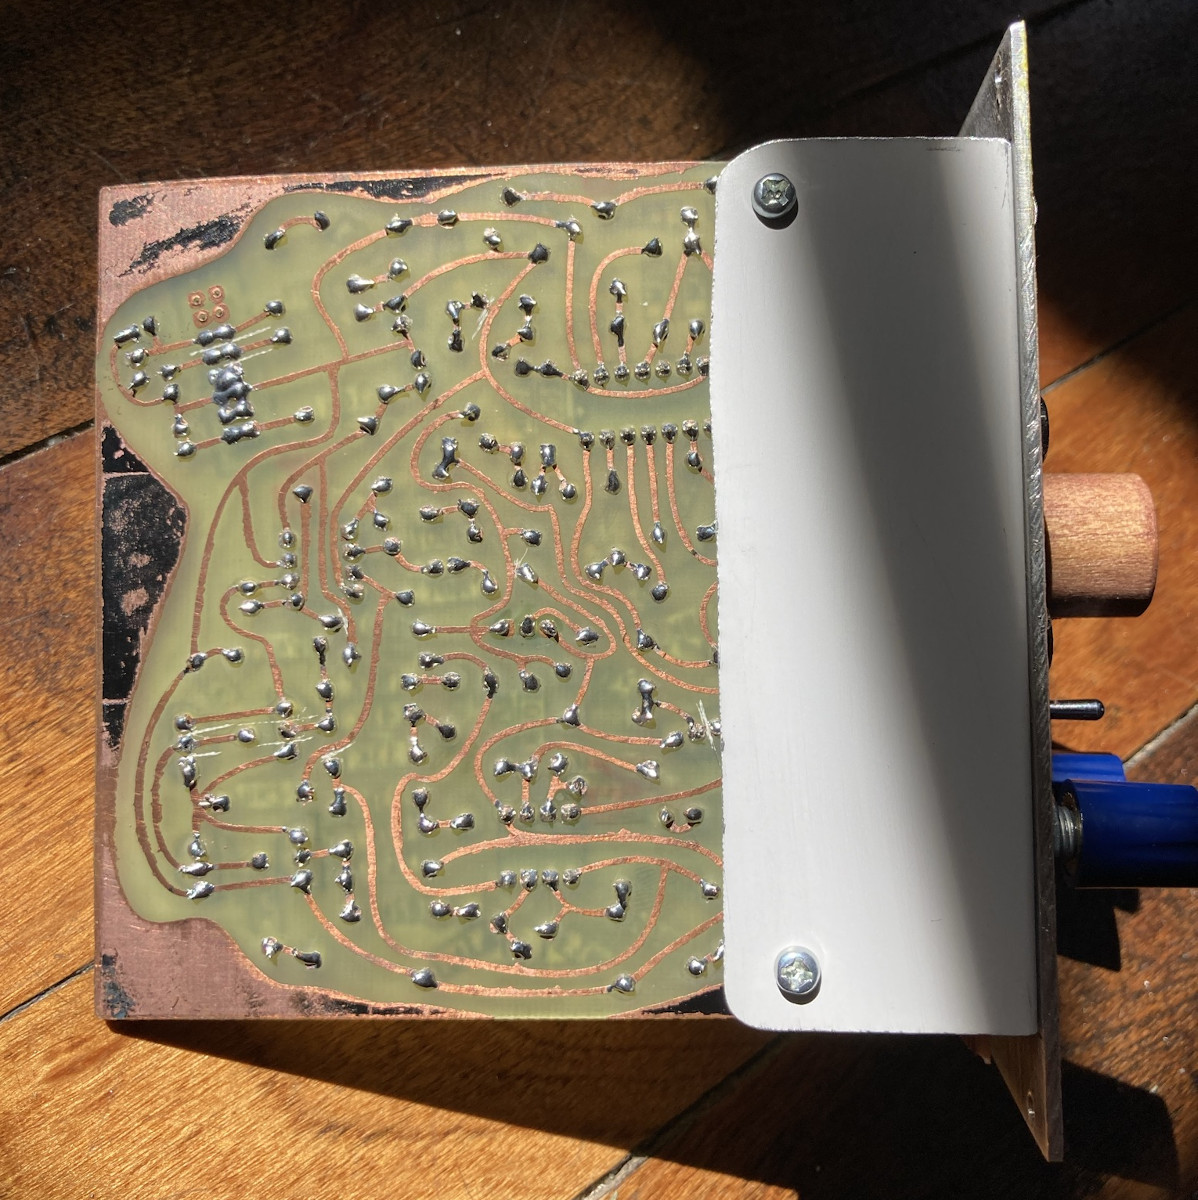
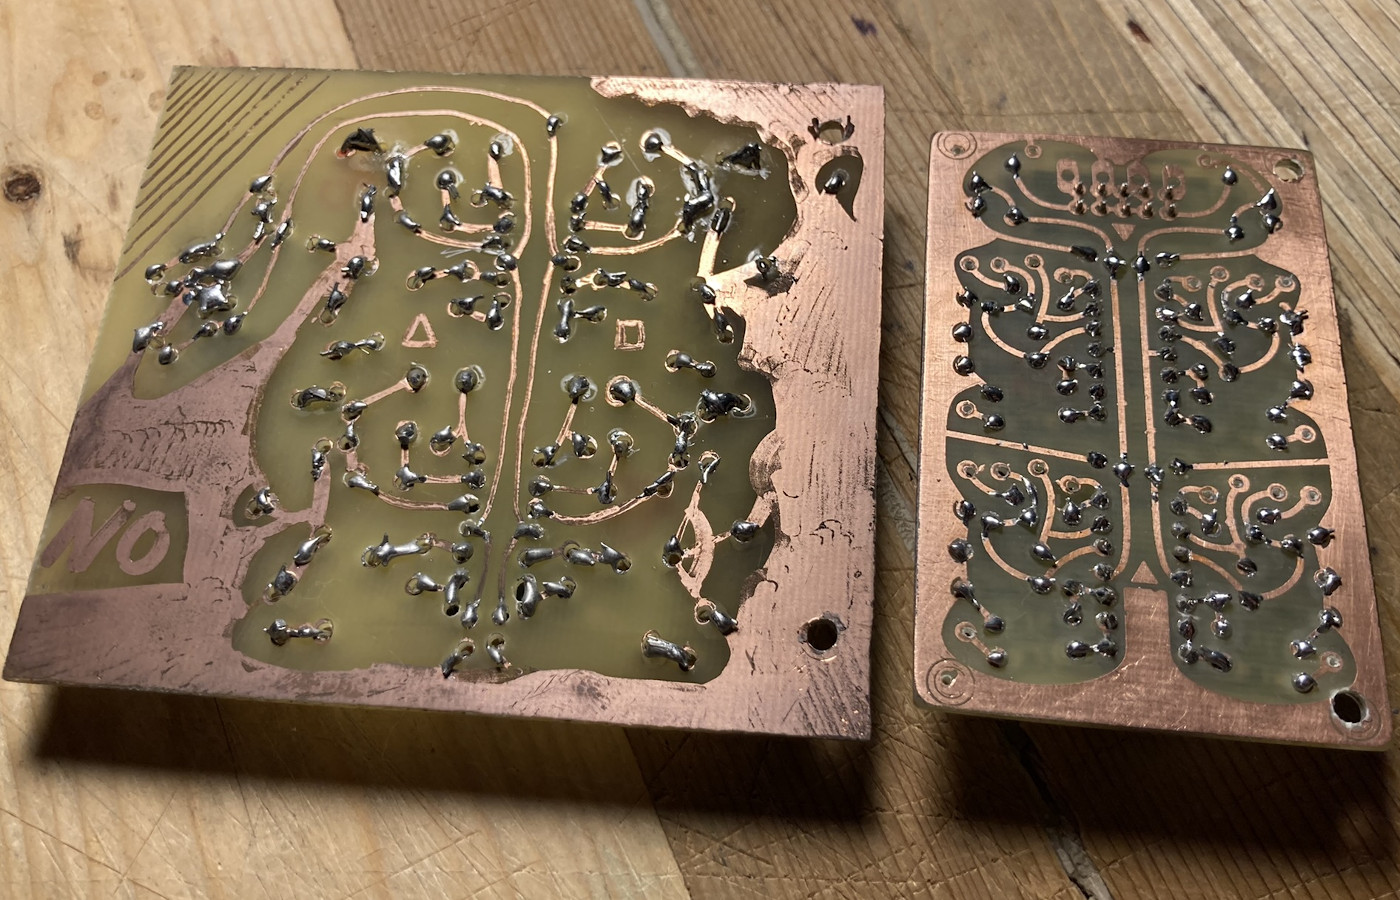
I used the toner tranfer method for etching this circuit board and sadly I have no advice for you. There’s so much info out there, it’s probably best to dive in. Also my first two attempts were utter failures, little to no transfer, and the third came out almost perfect, so…

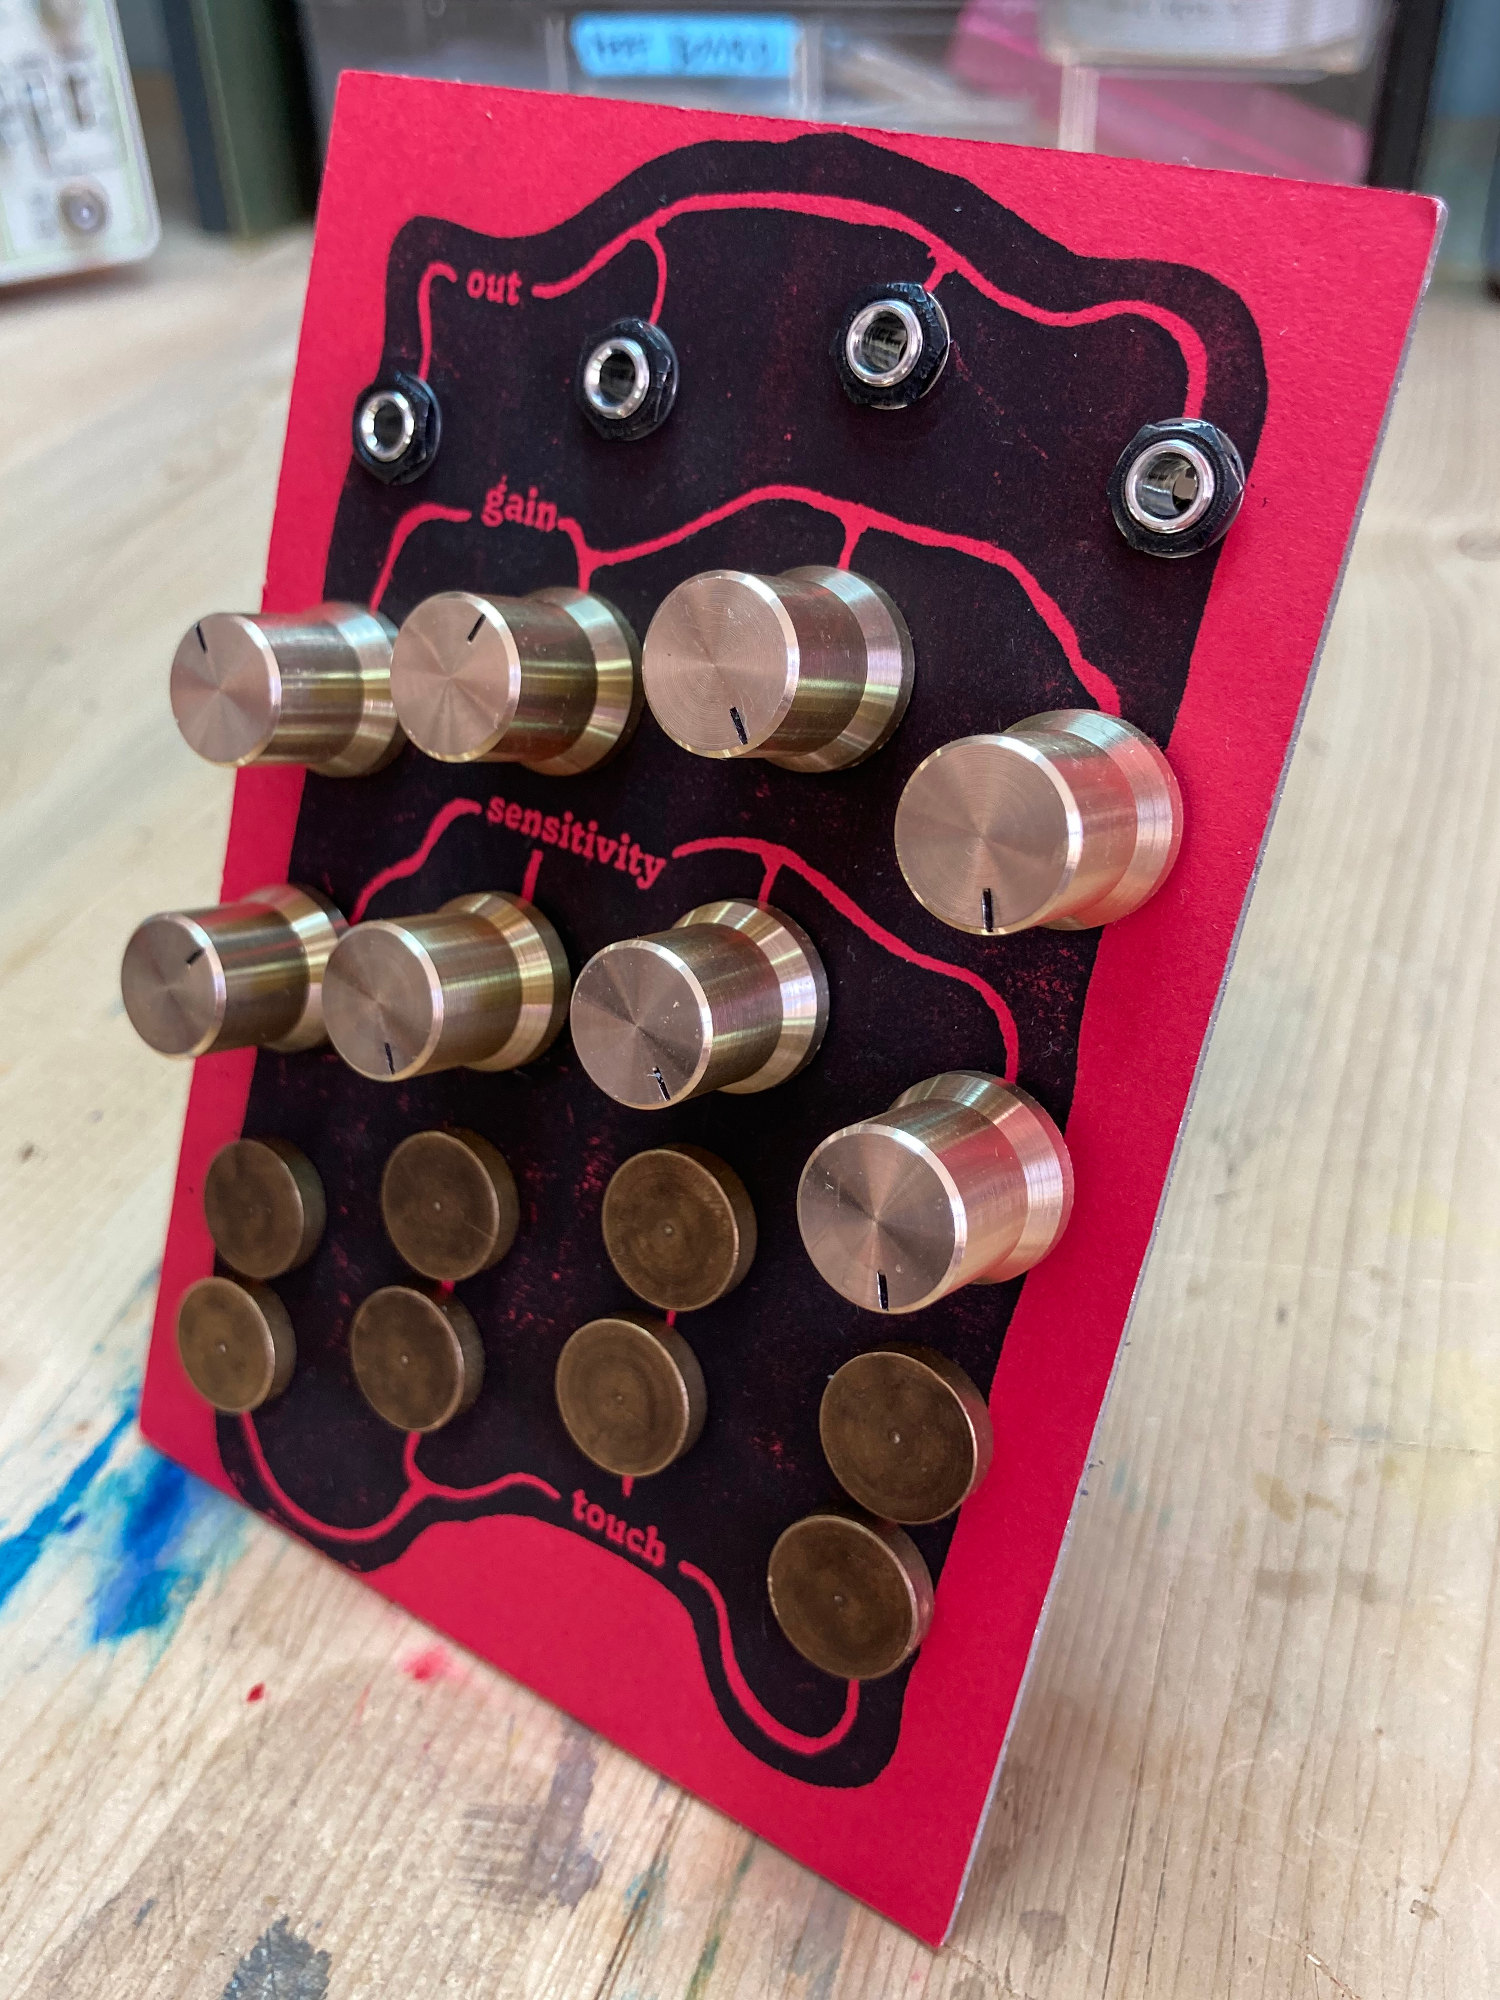
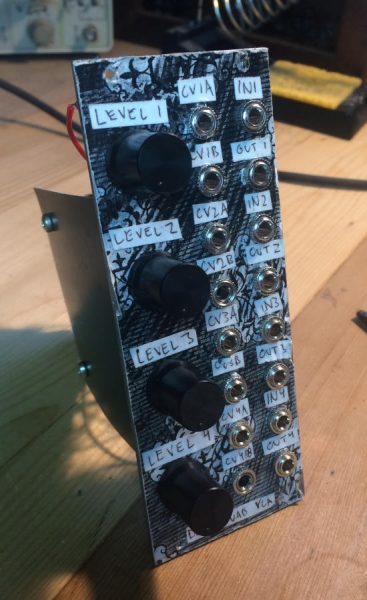
The front panel design was a bit of a creepy mystery. After the layout I was experimenting with lines to divide up the oscillators and functions, a scrapped one just looked like a basketball. But curvy lines around the oscillators made a little bust so I drew a face and voila. It bears a striking resemblance to a fucked up part in the videogame “SOMA” where someone is being kept alive against their will by a machine. There’s my creepy subconscious for ya.
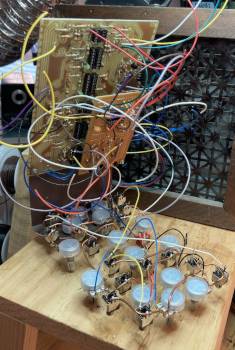
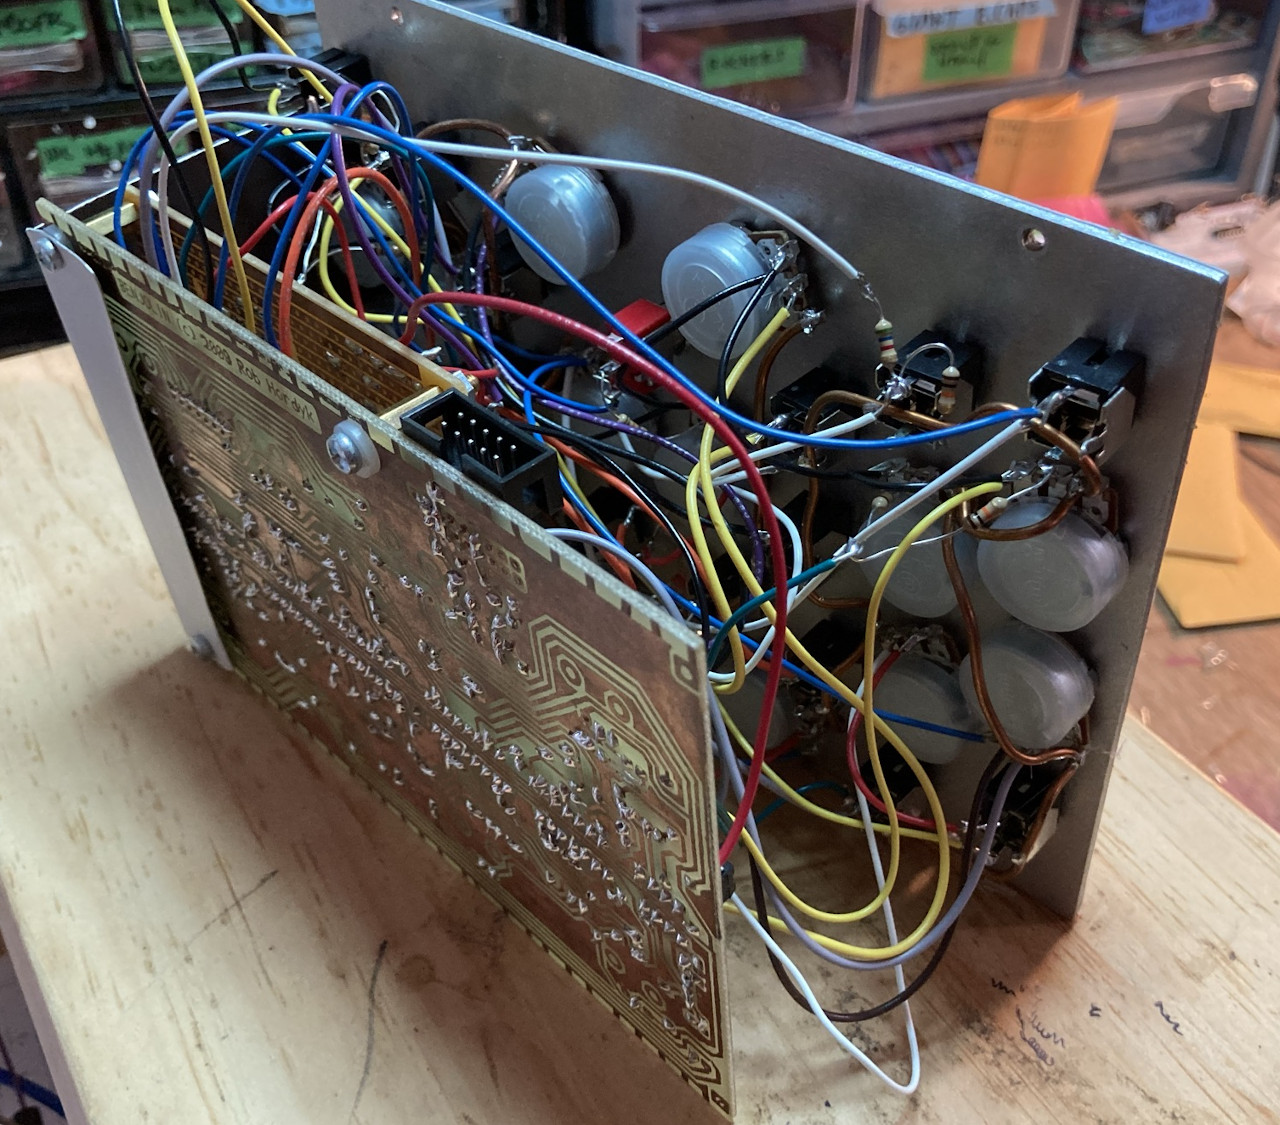
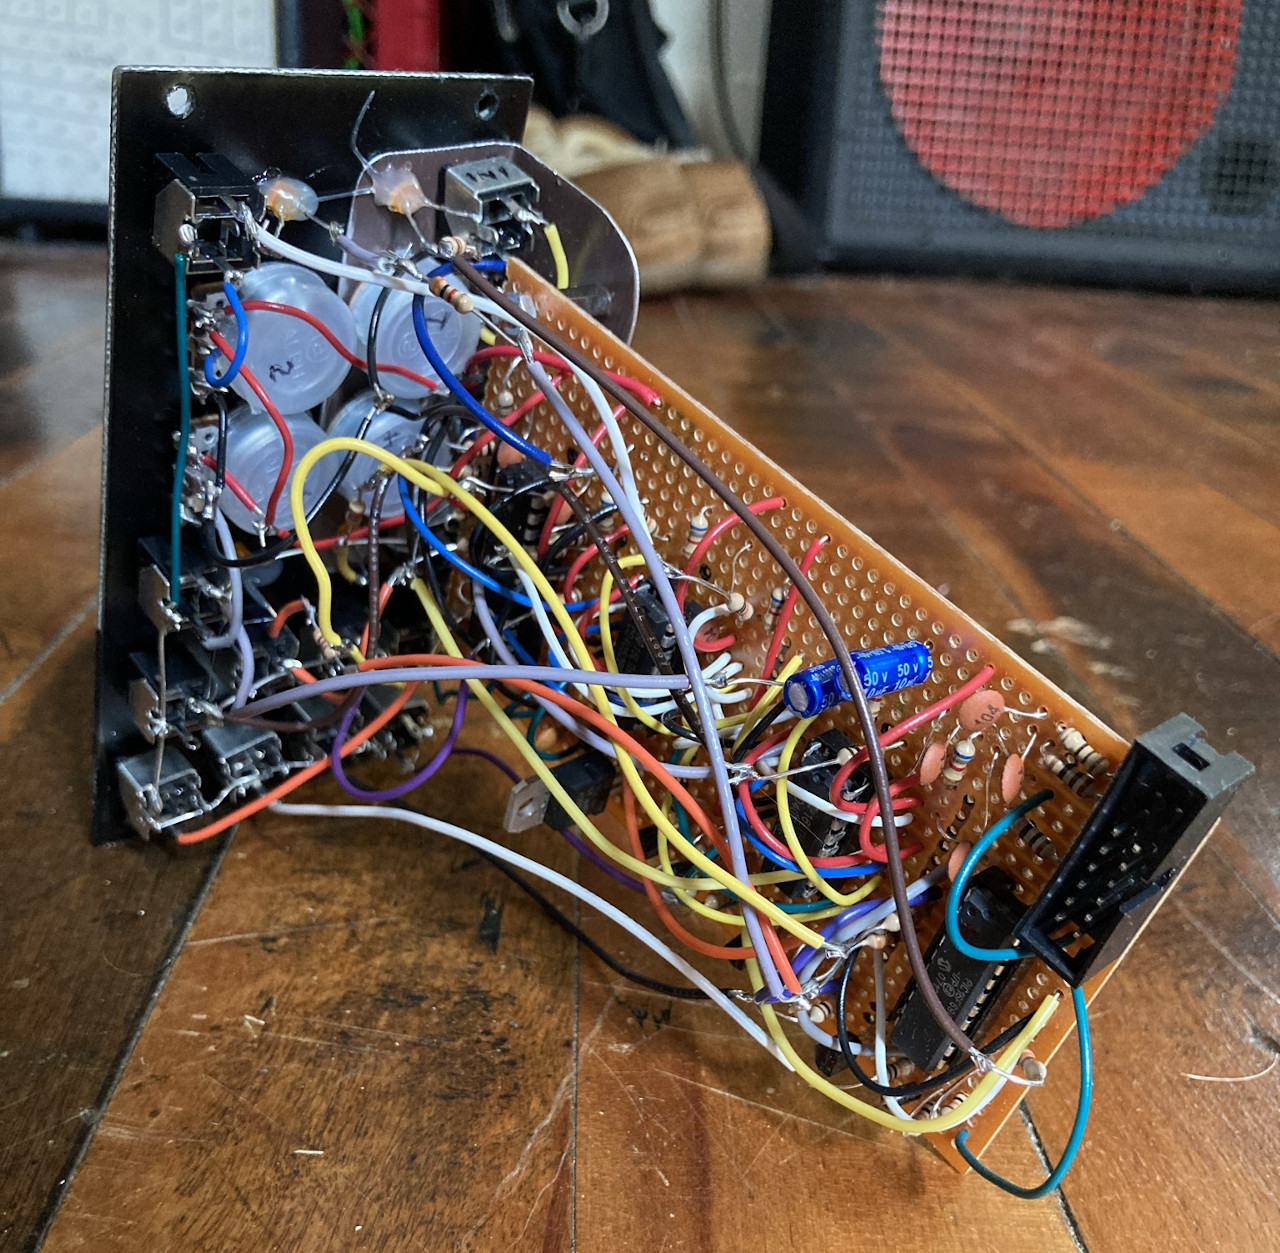
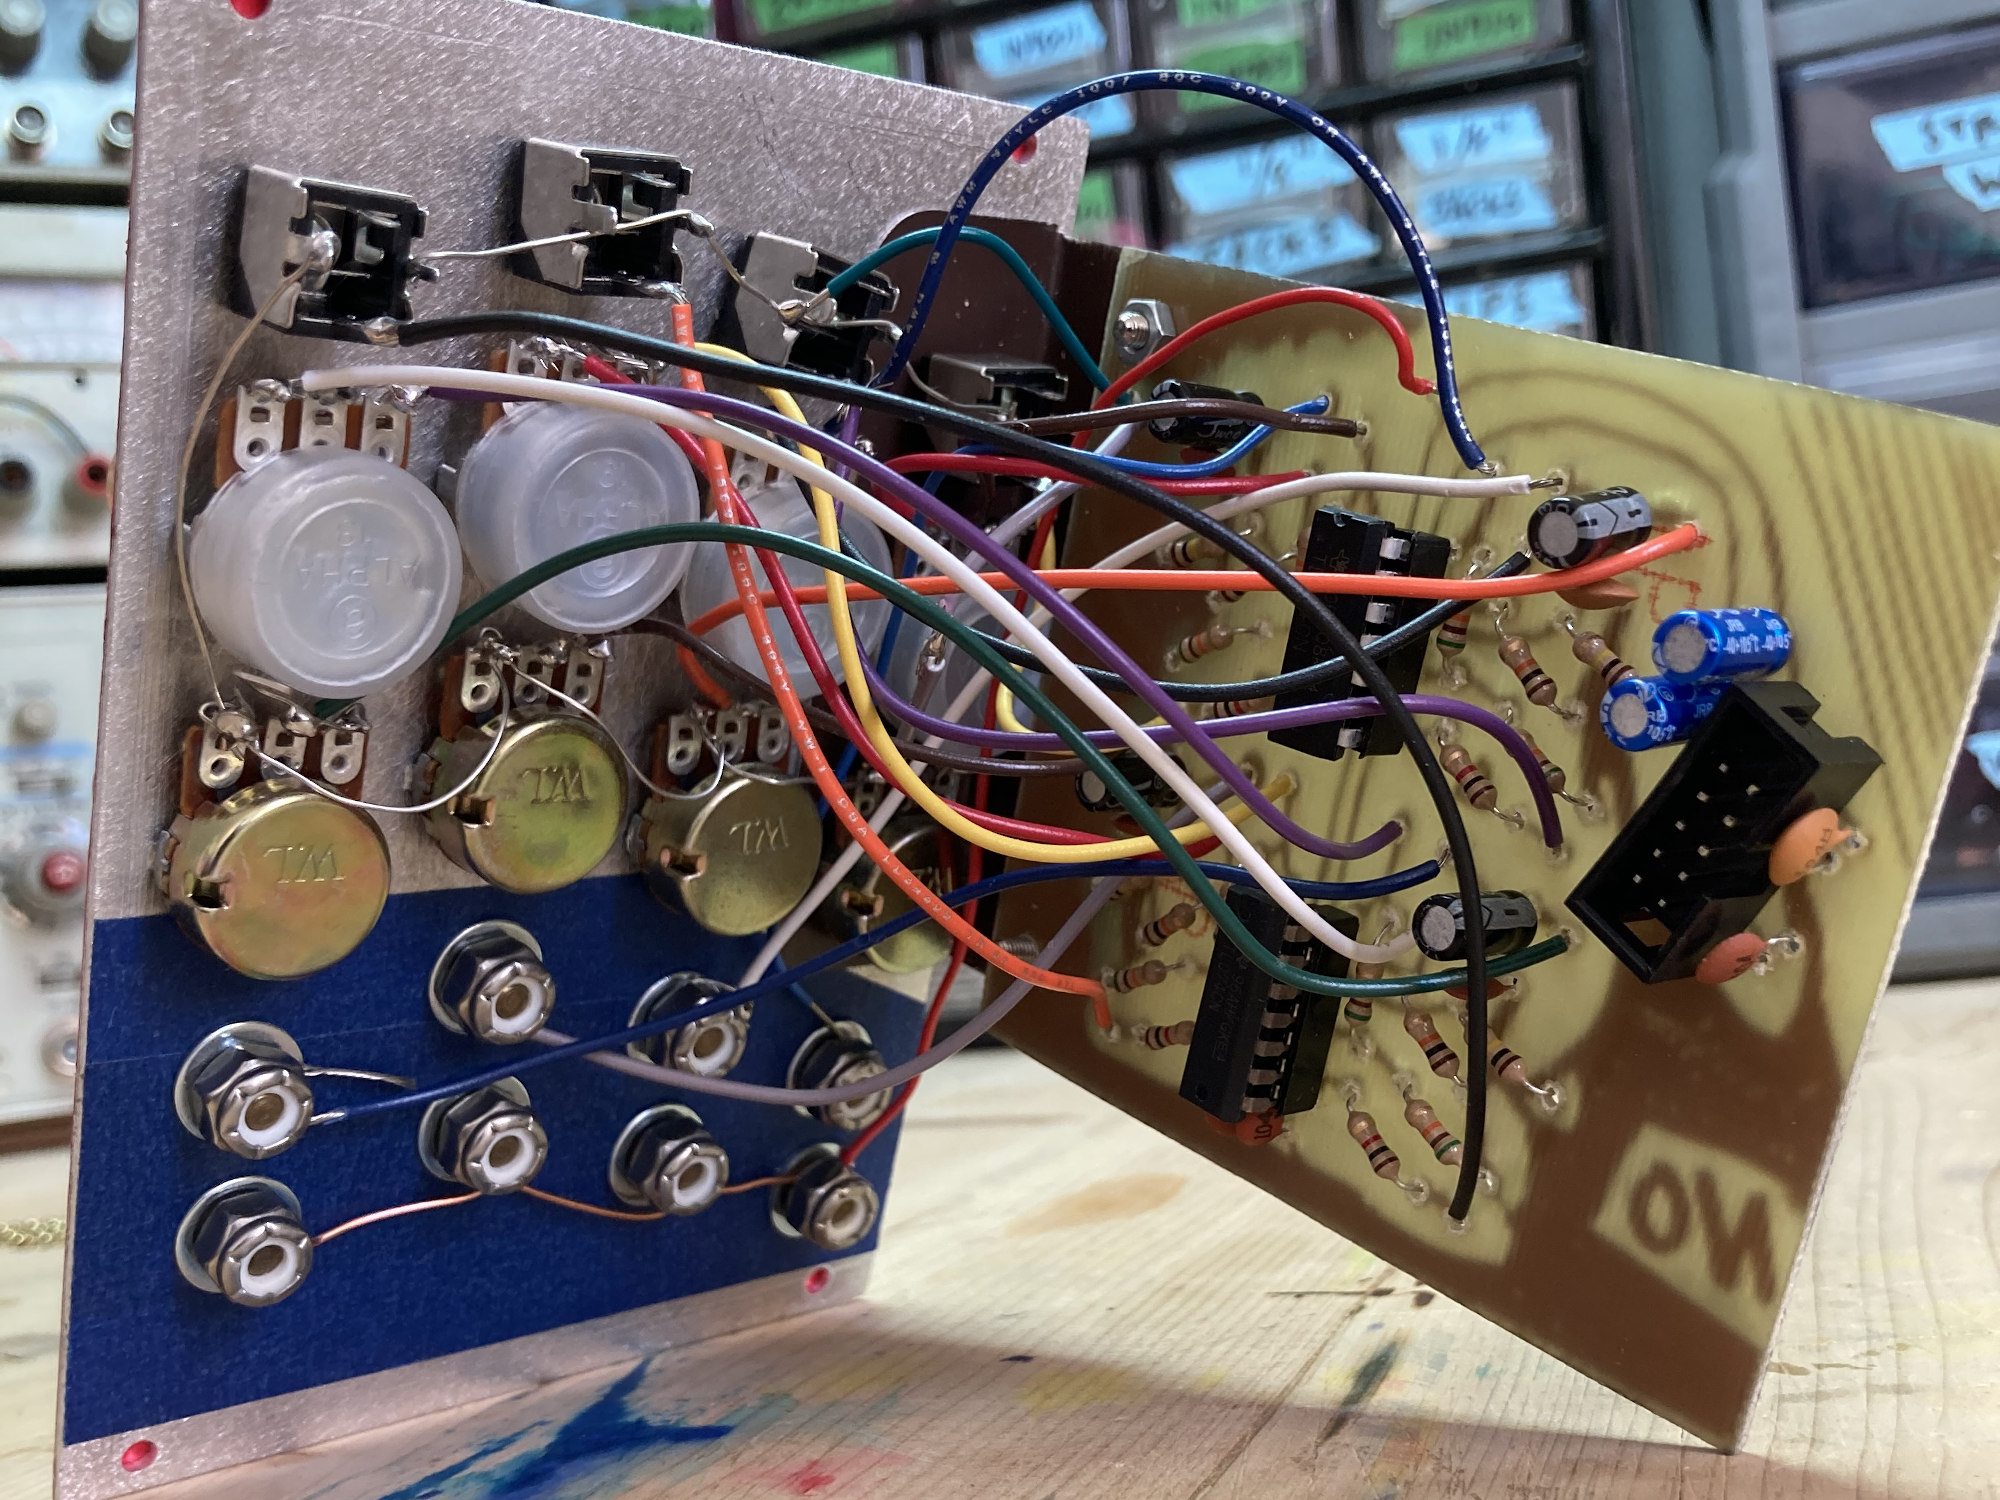
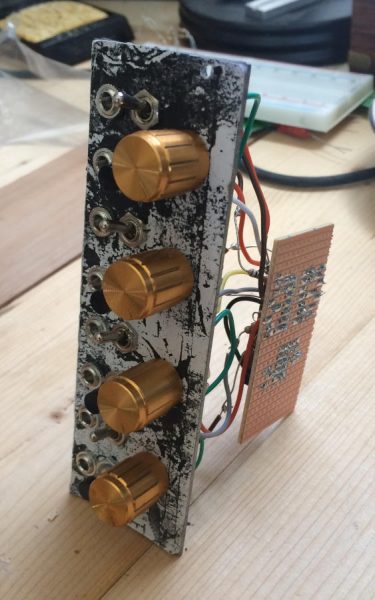
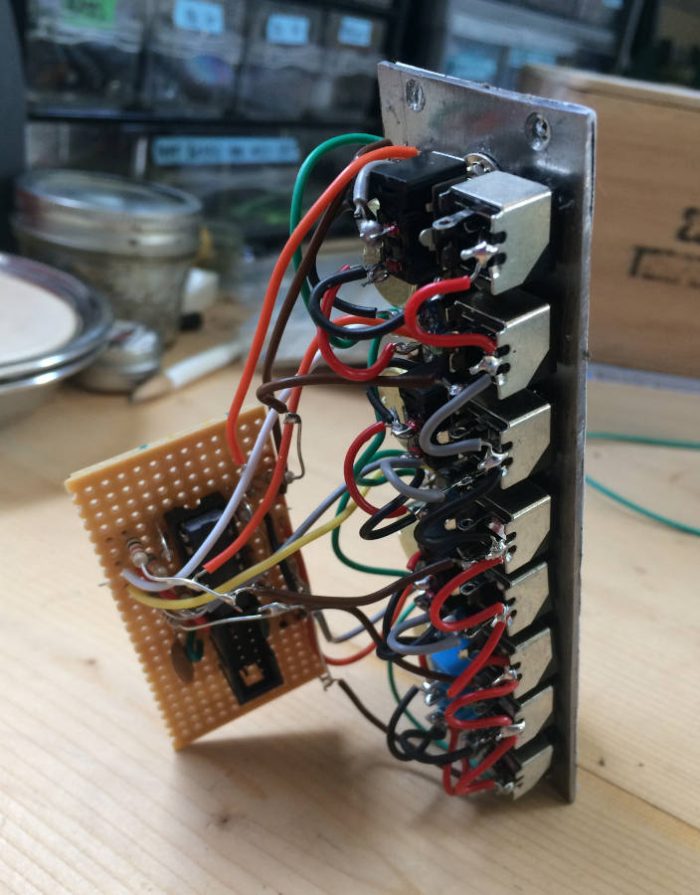
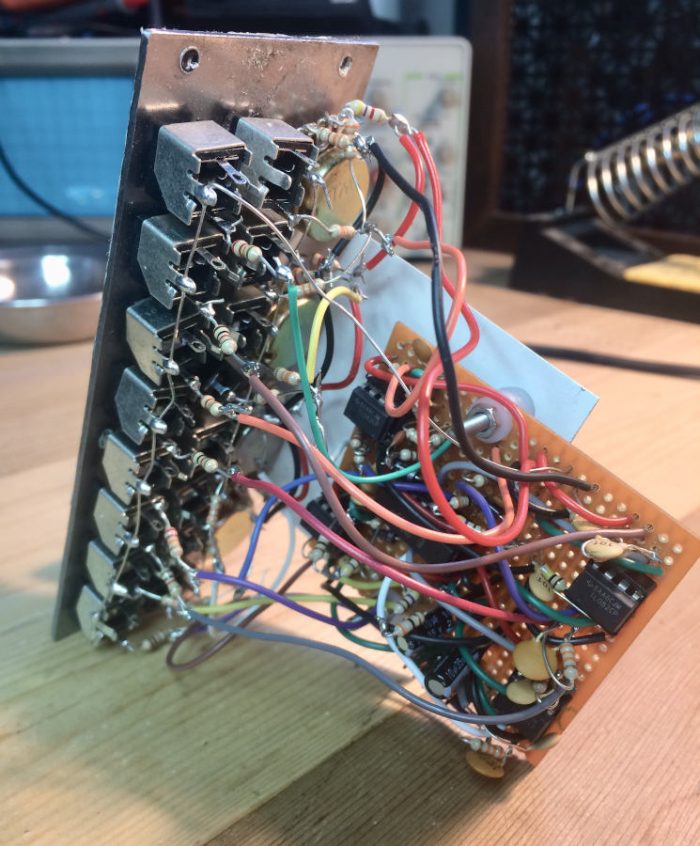
I opted to mount the PCB parallel to the front panel because it’s the only way it’d fit. I wired the ground at the panel with 14 gauge copper wire so the components would stay rigidly in place, and then I could take the metal panel off and have more angles to solder from. It looked cool, but I still ended up mostly just bending the mounting bracket out to wire it (see the second picture).

I made a schematic of all the mods I used. Here it is. Oh and I voltage dropped the pulse outs (osc 1, osc 2, and PWM mix) a little. Also I never use the fine tune knobs so. Sounds:
lyra 8 build
I’ve got my tentacles around something good and I don’t want to let go. I can feel good about grocery stores again but I’m not sure I want to. Coming out of the cave, parched, there’s fear and a knee-jerk retreat to minuscule comforts. There’s heat from friction with an excitement for expression, boundaries, showing up as my full self regardless of what strings may need to be cut. Good riddance, hello!
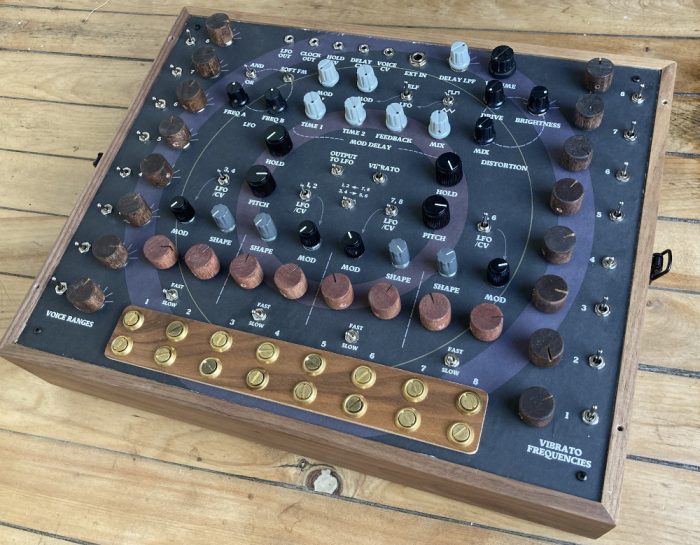
This synth has 8 voices, individually tunable, though not so easily because they have a huge range. It has lots of feedback loops, cross-modulation, no presets, and lots of non-linearity. It can sound melodic and ethereal or dirty and glitchy and everywhere in between.
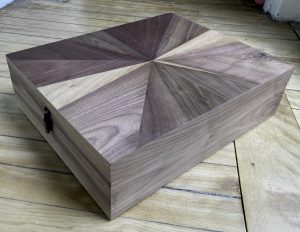
There are a lot of things I got wrong, obviously, including making the case too small at first. I just read the tape measure wrong. There are so many intimacies around making something like this for me that it’s hard to talk about almost. I feel like I’m showing off with a cheap 2-D explanation of some stranger's trip abroad. Come hang out in my room and we can play it if you want. AMA. I’m all ears (no arms).
In any case it’s an attempt at control, and the result is this complex 8-legged monster whose grip on predictability is just light enough. I welcome its influence.
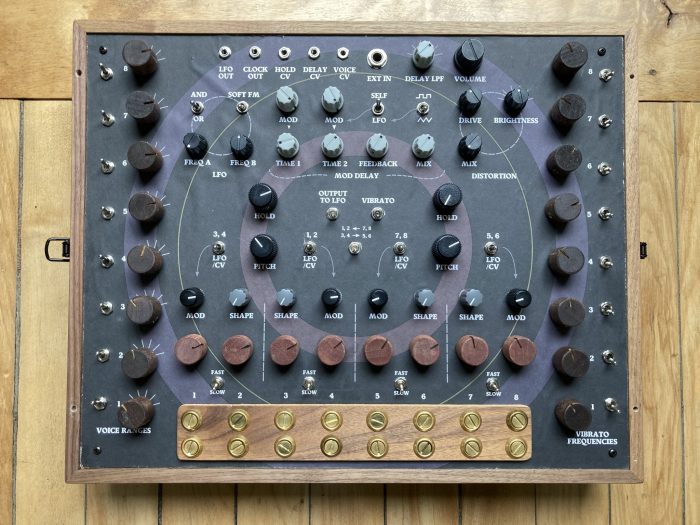
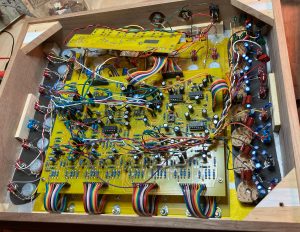
It's a modified Lyra-8 in case you're wondering. Everything I learned about this before the build was from the soma documentation or this modwiggler forum. I posted more technical details over there if you're interested. And here is me playing it.
dintree 106 step sequencer

This is the dintree 106 step sequencer, built on strip board from a schematic. Andrew (dintree boy) does a great job summing up the module over on their page, so I won't repeat any of that, but I'd like to share my strategies for a couple neat light mods.
The pots are wired from -5 to +5V with an optional input per step. I used a negative 5V voltage regulator to wire that voltage to one side of the pots, and hooked the pots to the switching side of the optional input jack. Andrew mentions regulating the 4052s' power voltages to be able to pass a synth signal though them. In my case I dropped all voltages going into the multiplexers (either from the +/-5V pots or an input signal) with a voltage divider, then instead of just buffering the outputs I amplified them back up to their original levels. This conveniently uses the same value resistors between input (voltage divider) and output (op-amp gain).
I etched the panel for this one. I spraypainted the back of the panel black in a failed attempt to destroy that ugly FR4 green color. Does anyone know a good source for colored copper clad?
Anyway, once I figured out how the hell to flash a program onto a microcontroller it worked well! It's fun fast, fun slow... The step inputs really add to the functionality. I'd probably build it on two boards if I could do it again, this thing is deep.
toucher
This is a 4-output resistive touch controller I developed originally based on this video here.
It works by passing 12V through your finger (you'll be fine), into some capacitors, dropping the voltage, and buffering it. Pretty simple! As you can see in the pictures I put masking tape behind the touch sensors to keep them from the grounded panel. And the holes were drilled bigger than the threads, again to avoid contact.
Since making this module I've upgraded from using sharpie to toner transfer for etching, so I decided to revisit this layout and update it. For us. The new layout is about half the size and way less ugly!
Here's the copper layer,
and the silkscreen.
These are at 600dpi. And here's the schematic. Take note of the 100ks from V+ to the touchpads--they're not on the PCB.
Out with the old, in with the new.
mfos envelope follower
I made a module from a slightly modified MFOS circuit. It's all over there (just the U1 bit of the "Envelope Follower Filter") but I'll share this schematic just to show what pot values and such worked for me. Gotta love that inverted out.
MFOS envelope follower schematic
abolition lynx
A collection of the widespread violence by the forces of white supremacist capitalist patriarchy.
Here's a simple breakdown of abolishing the police. It's a new idea to many, but it is a more realistic, helpful, and scientific approach to community safety--the job police purportedly provide.
Excerpt:
don't be disheartened
What have I been up to you ask? Trying to navigate the new world. Enjoying the space I have while lamenting the turmoil others are in. Filling in the space with electronics projects.
The projects keep piling up and scattering a bit, which I understand is totally normal. I put together a dintree quad VCA about 6 months ago, and after reading,reading,reading, drawing up a wiring diagram, soldering and wiring it up, I plugged it up and it worked! Then I realized it wasn't quite acting normally! Then it died!
So basically I gave up. In the back of my mind was a mopey asshole who said, "You don't really know what you're doing. You're not really good at anything, just mediocre at many things. Where would you even start?" Etc.
And of course coronavirus, and also I have all this stuff lying around for building electronics... so I decided to start a little smaller, simpler. I stumbled upon an attenuvertor schematic (here) that looked very simple, and I'd made a passive attenuator to get my feet wet a while ago, so I decided to convert it. It worked and worked beautifully. Subtlety can be so fun, and upsidedown voltages opened it up all the more.
So with an actual working module under my belt I picked up the ol VCA, sat with it for a bit, re-flowed some solder joints, and voila!
All this is to say, you can do it! Mistakes and breaks are not only part of the process, they're good! Our model of learning is a dumb one: accruing knowledge first, then applying said knowledge with confidence. I learn that that's bullshit over and over.
white awake
"White Awake combats white supremacy by focusing on educational resources and spiritual practices designed to engage people who’ve been socially categorized as 'white' in the creation of a just and sustainable society."
the bureau
Here are some panels from the comic/album The Bureau which I spent the morning listening to and reading. Listen here. And read it here.